How Not to Do It
When I was a kid, my mom stuffed in my room:
- A customized brown closet that fit right in one corner (which meant I wasn’t able to move it at all)
- More brown closets along the wall
- A brown pull-out desk that was attached to one wall and would bump into my brown bed on the other wall
- A metal shelf
- No rug
- No decoration
In case you don’t know my mom and I didn’t make it obvious enough: she loves brown. (And I don’t mean a pretty wood brown, I mean a really strange brown that didn’t look natural at all.)
And she never asked me if I do too. (I don’t.) When she planned my room, she forgot the most important person: me – even though it’s so much fun for a parent and kid to design the kid’s room together.
That’s why I’ll show you 7 fun ways to design a kid’s bedroom together:
- A Genius Layout
- The Perfect Vibe
- A Theme Room
- Storage, Storage, Storage
- A Personal Color Palette
- Furniture That Grows with The Kid
- Durable and Easy-to-Clean Materials
A Genius Layout
This part is SO MUCH fun!
You are going to plan the room’s layout, together:
- Create a Floor Plan
Help your kid measure the room and jot down the measurements. Then draw the outlines – from a bird’s eye view – on a large sheet of paper. This is your floor plan. - Create Furniture Cut-Outs
Then draw the furniture, also from a bird’s eye view. You can use white paper and colored pencils, or you can draw on colored paper. Cut out all the pieces and place the furniture cut-outs on the floor plan. - Come up with the Genius Layout
Now the two of you can get super creative and try out different room layouts. Let your kid move the furniture cut-outs around and discuss if the layout seems realistic. Make sure you have enough room to walk so that you don’t bump into furniture and can open doors easily. For example, you should plan about 3 feet (1 meter) in front of a closet so you can access it comfortably.
How awesome will it be for your kid to come up with a layout and then make it a reality? This is how they should teach perspective, drawing, and tapping into your creativity in school!
The Perfect Vibe
Don’t stop the creative process just yet!
Go on Pinterest (or Google) and look at children’s rooms. Let your kid pick all the rooms they LOVE and save them to your phone. If you’re using Pinterest, you can create a board and save everything there. When you create the board, you will be asked to give it a name. In that same window, you can scroll down and make the board secret, if you don’t want anyone else to see it.

When you’ve got a good 30 or more images saved, analyze them with your kid:
- What is it they love?
- Is there a recurring color or item?
- Is there a recurring piece of furniture?
- Are there recurring decorative items?
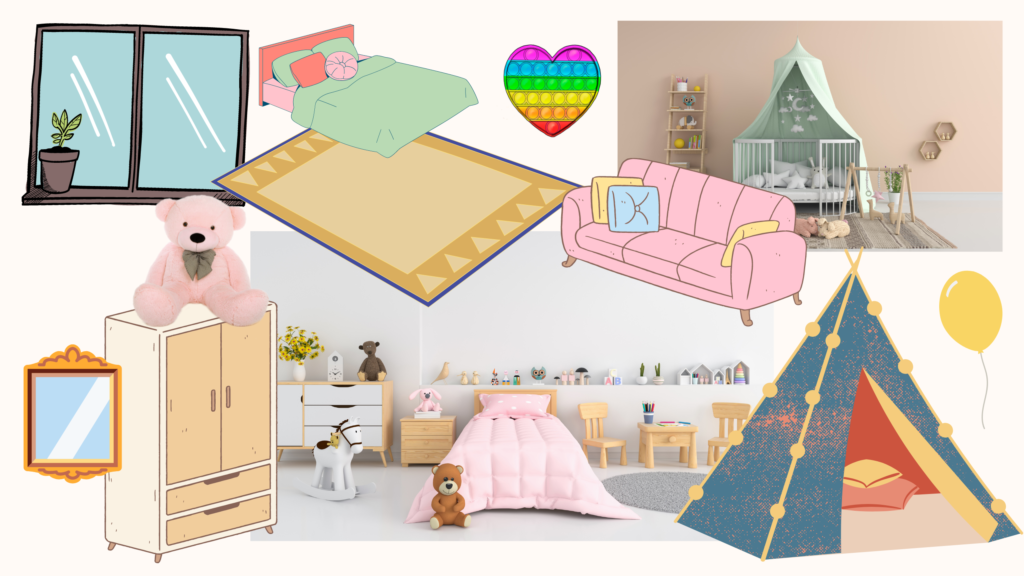
Cut out everything the kid loves and create a collage. You can print out the photos and work with good old glue and paper. If your child feels particularly inspired, they can also draw and paint on the collage so that it looks exactly how they want their room to look.
If you prefer a digital collage, Canva is a great, free platform.
And voilà, you’ve created a mood board for your room design!
A Theme Room
Give the room a theme.
Have the room be an enchanted forest, a hidden underwater city, a king’s or queen’s castle, a formula 1 race track, a planet in outer space, or a village in the mountains. You could also recreate a place from your kid’s favorite movie, book, or game, like the The Land of Oz, a Hogwarts dorm room, or your kid’s favorite Super Mario level.
Decor IDEAS
- Walls
Paint a mural scene, use stencils, or buy themed wallpaper. - Furniture
Maybe you can find a bed shaped like a pirate ship or a bookshelf shaped like a castle? - Accessories
Use themed throw pillows, rugs, bedding, lamps and other decorative items. - DIY: Get Really Creative
Make a real spaceship for a space-themed room, create a bookshelf shaped like a tree for a fantasy theme, or turn old jars with fairy lights into magical nightlights.
Examples
- Harry Potter
Print and frame Marauder’s Map, find wallpaper featuring Diagon Alley strore fronts, or paint a platform 9 ¾ brick design on a wall or closet door. Keep school supplies in wooden crates, label glass jars for miscellaneous items with potion names, and throw in the odd rubber snake or eyeball. Use Hogwarts house colors and string fairy lights around the room. Lastly, create mystical lighting with a chandelier or battery-operated fake floating candles. - Radiator Springs
Hang a “Welcome to Radiator Springs“ sign above the door. Paint a desert landscape mural with cacti and the Radiator Springs mountain range, and add “Route 66“ signs and arrows. Paint or stick a checkered flag pattern on the floor or find a theme rug with a the flag pattern, a racetrack design or cars characters on it. Maybe you can find a Lightning McQueen race car bed or bedding. You can decorate with repurposed old car parts like license plates. - In the woods
Build a wooden platform with a ladder that serves as an indoor tree house. (Or disguise the bed as a tree, and call it the tree house.) You can paint trees on the walls and use green and brown textiles like curtains and bed sheets, maybe with forest related prints. The rug could be blue to mimic a forest lake or grass green so your kid can lie in the “grass“ and enjoy the sun (a sun-shaped ceiling lamp of course). - A little village
The floor could be one of those city map rugs and every piece of furniture could be a part of the town. The closet could be a clothing store, so every time the kid gets dressed in the morning, they “go shopping“. The book shelf could be a library, there could be a park, a school, a supermarket, a lake or sea, a movie theatre, a restaurant, a museum, and a train station.

Storage, Storage, Storage
My desk, my bed and my floor were constantly cluttered when I was a kid. Granted, I was pretty chaotic back then – but I also lacked storage space. That doesn’t have to happen to you! There are a million storage solutions suitable for the age and reach of your kid.
Consider a mix of open and closed storage. Open shelves can display favorite toys, while bins and baskets hide away clutter.
Open Storage
- Shelves:
There are so many different types of shelves! Shelves are a great way to display your kid’s favorite toys and other items (like the potion jars for the Harry Potter theme room). Unused corners can be utilized with corner shelving units. - Baskets:
Baskets are perfect for storing soft toys, pillows, blankets, magazines, and books. You can place a wicker basket on the floor or on a shelf, or you can mount a hanging basket on a wall or from the ceiling. - Pegboard walls:
A pegboard wall is a panel with evenly spaced holes drilled throughout. These holes are designed to hold pegs, shelves, containers, and hooks. You can hang toys, backpacks, sports accessories, and headphones, and you can store craft and school supplies, and even create a gallery wall for your kid’s art work.

Closed Storage
- Bins and boxes:
Different color storage bins are a great way to add a pop of color to the room – and organize the clutter. This helps give every item a home, which then helps the kid to keep the room organized in a fun and easy way. - The Closet:
Maximize vertical space by adding shelves within the closet for storing books, games, or toys. Use baskets or bins inside the closet for different categories of items. You can customize the inside or the outside of the closet with colorful wallpaper. - Built-in storage:
Built-in benches with storage compartments are a great way to great a comfy nook with lots of extra storage space. Drawers underneath the bed are great for everything that isn’t needed daily, and some pieces of furniture like ottomans with a lift-off top also provide hidden storage.
A Personal Color Palette
You can draw color inspiration from the mood board or the theme you’ve picked for the room. Or you can come up with a new palette from scratch.
For younger kids, bright and playful colors are great. For older kids, you can create a more mature palette with some pops of color.
The 60-30-10 Rule
The 60-30-10 rule can help you create a balanced color scheme for the room.
Settle on three colors:
- Identify the Dominant Color (60%)
Choose your dominant color and use it on the largest surfaces such as the walls. Great dominant colors are neutrals like white and beige or soft pastels like light blue and lavender. - Pick the Secondary Color (30%)
Use the secondary color for mid-sized elements. For a vibrant and energetic feel, you can choose a secondary color that is very different from your dominant color. For example, if your dominant color is a light blue, a green or orange could be your secondary color. For a harmonious and calming feel, choose a color that is similar to your dominant color. If your dominant color is blue, similar colors could be teal or navy. - Add the Accent Color (10%)
For a pop of color, add throw pillows, artwork, and other smaller decorative elements in your kid’s favorite color to the design.
This is a rule of thumb, so don’t be afraid to adjust the percentages!
Other Resources
Use online tools:
Coolors
You can use websites like the free color palette generator Coolors. There you can create a color palette from scratch or enter the HEX codes of colors you’ve already chosen to see which other colors go well with them.
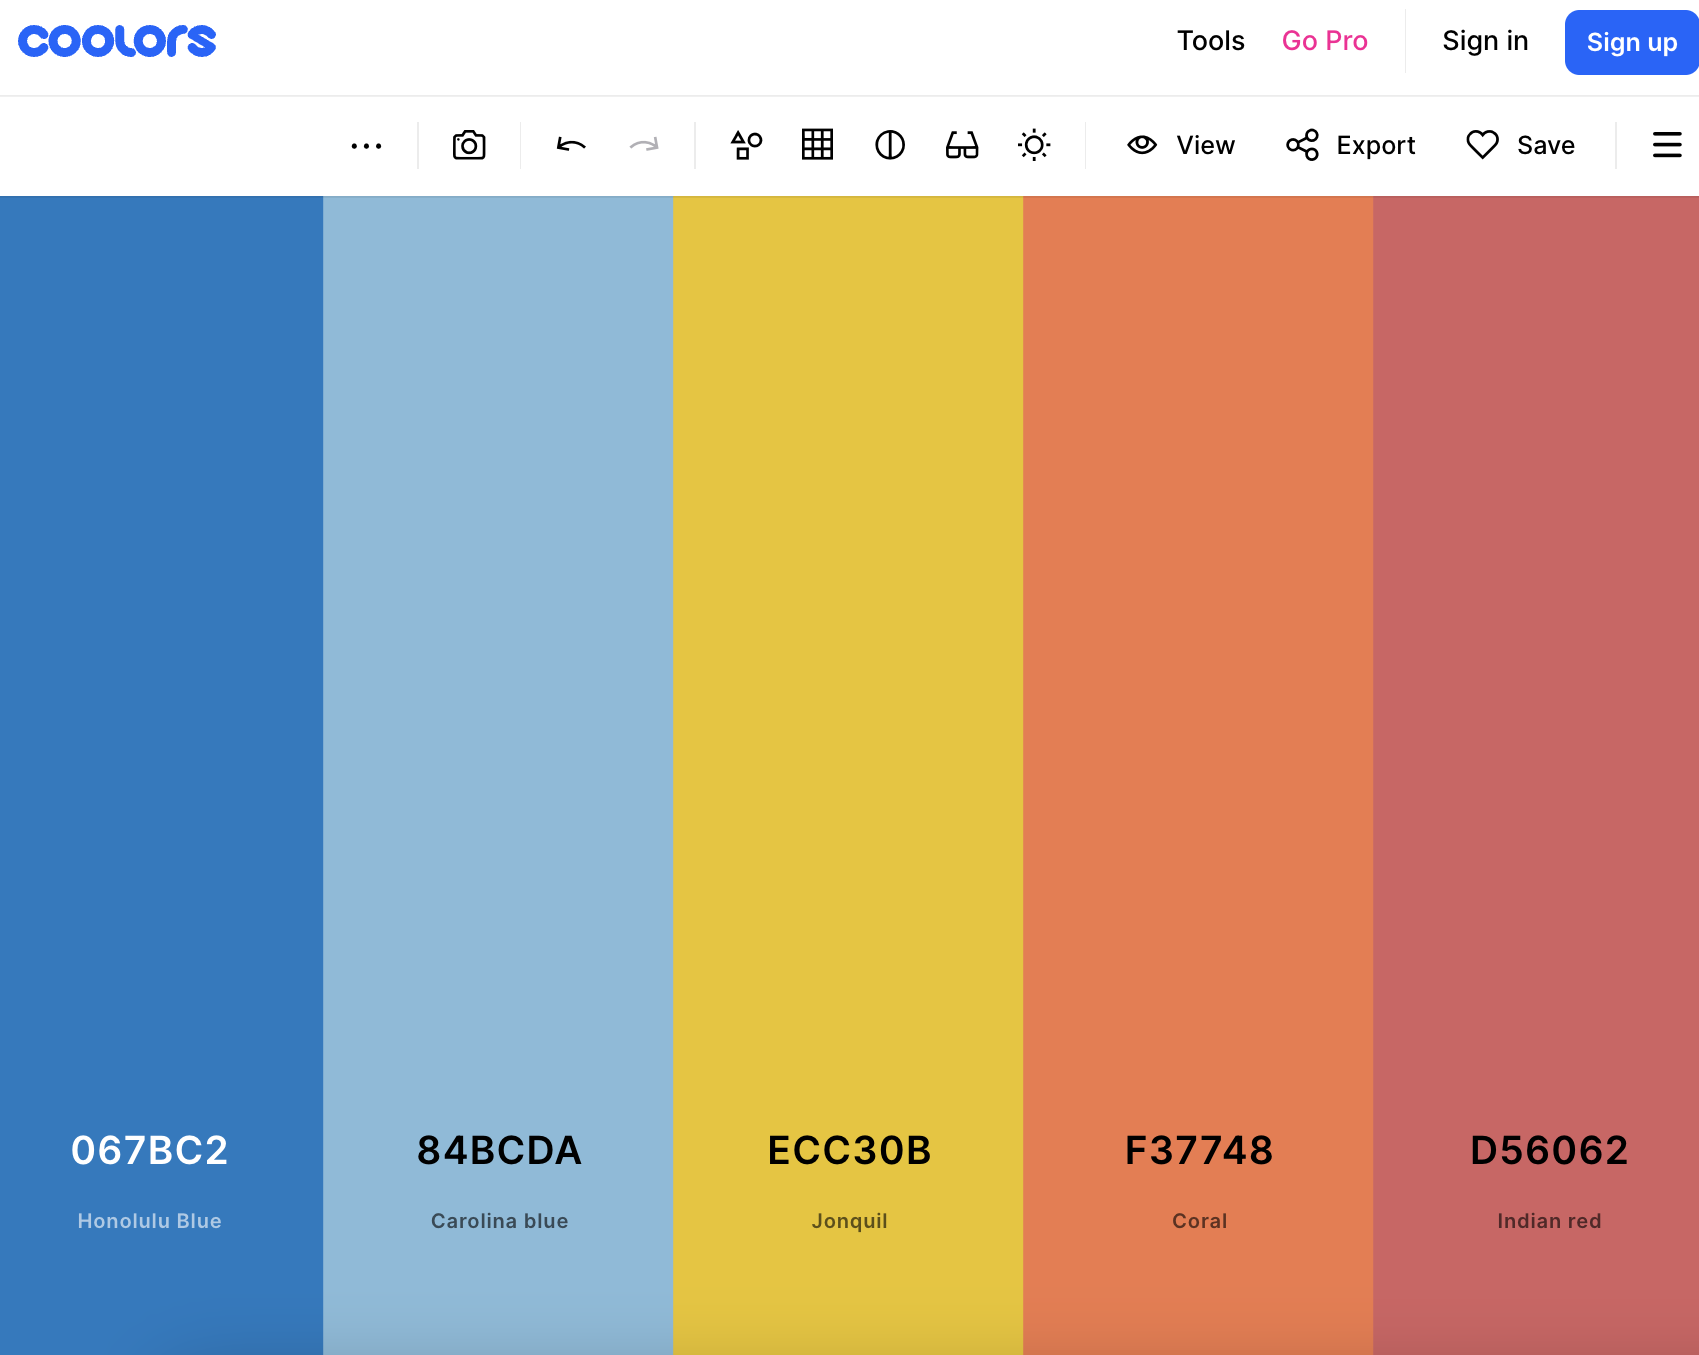
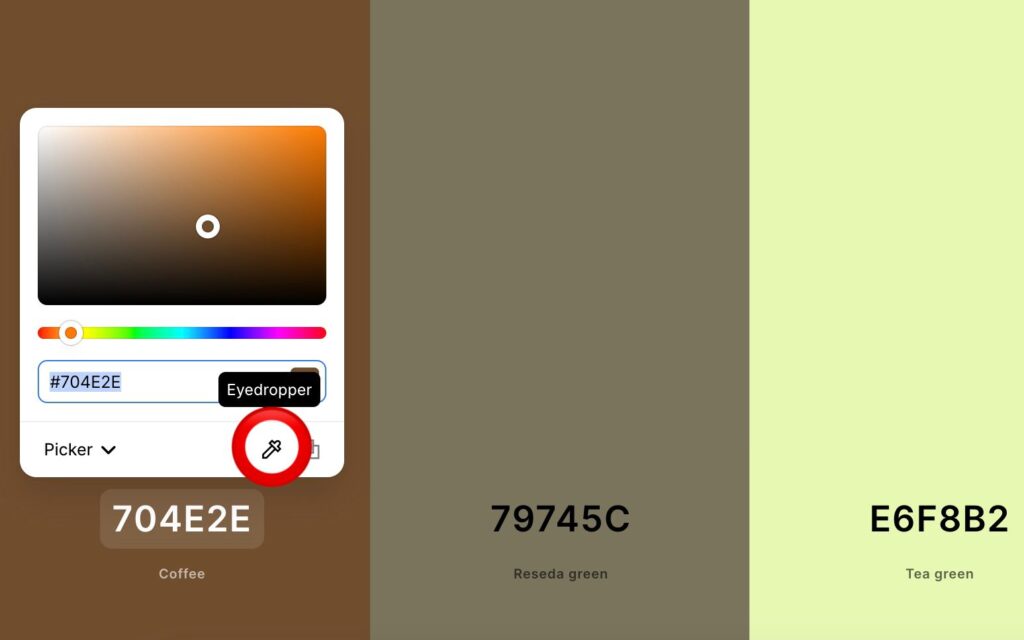
Don’t know the HEX code of your chosen color? No problem: Open a photo that contains this color in a new window next to your browser and use Coolor’s integrated color picker to determine the color you’re looking for.
Read books:
For example, The Little Book of Colour is a great book about color psychology.
If all this sounds like a lot, trust your intuition. Place the colors that you and your kid like next to each other and see how they make you feel.
Everything can be undone, so dare to experiment!
Furniture That Grows with The Kid
Furniture that can grow with your child is great because it can save you money and space. There are many different types of furniture designed to grow as your kid grows, like these ones:
- Convertible Cribs
Can transform into toddler beds, full-size adult beds or sofas. - Adjustable Desks and Chairs
Come with a mechanism that allows you to adjust the height of the work surface and seat. - Convertible Changing Tables
Can later be transformed into a bookshelf or a desk. - Adjustable High Chairs
Can be turned into normal chairs for kids, and some even into a chair with a table. - Convertible bassinets
Can be used as storage or shelving when no longer needed for sleeping.

Durable and Easy-to-Clean Materials
Here are some ideas for durable and easy-to-clean materials that can withstand the test of time:
Flooring
- Vinyl:
Vinyl flooring is stain-resistant and easy to clean. It comes in many different colors and designs, so you can look for something that goes with your theme and color palette. You can choose cushioned vinyl for a softer feel. - Laminate:
Laminate can look exactly like real hardwood flooring, but is usually cheaper. And it is resistant to scratches and easy to wipe clean, which makes it a good choice for high-traffic areas.
Walls
- Wipeable Paint:
Wipeable wall paint allows you to easily clean off stains like the crayon marks from your kid’s last artistic endeavor. - Washable Wallpaper:
There is also washable wallpaper that has a specific coating so you can clean it without damaging the design. - Removable Wallpaper:
Removable wallpaper is great if you want to remove or repair stained areas. It also makes it easy to change the room’s look as your kid grows.
Furniture
- Solid Wood:
Solid wood furniture is strong and can last a lifetime. Hardwoods like oak or maple are a great choice when it comes to durability. - Metal:
Metal is easy to clean and resistant to stains and scratches. When used in moderation, it can add a nice accent to your design.
Fabrics
- Polyester:
Polyester is one of the most common types of stain-resistant fabrics perfect for upholstery, curtains and bedding. - Cotton:
Cotton is naturally stain-resistant, breathable and soft, so it is great if you are looking for a natural and comfortable fabric.
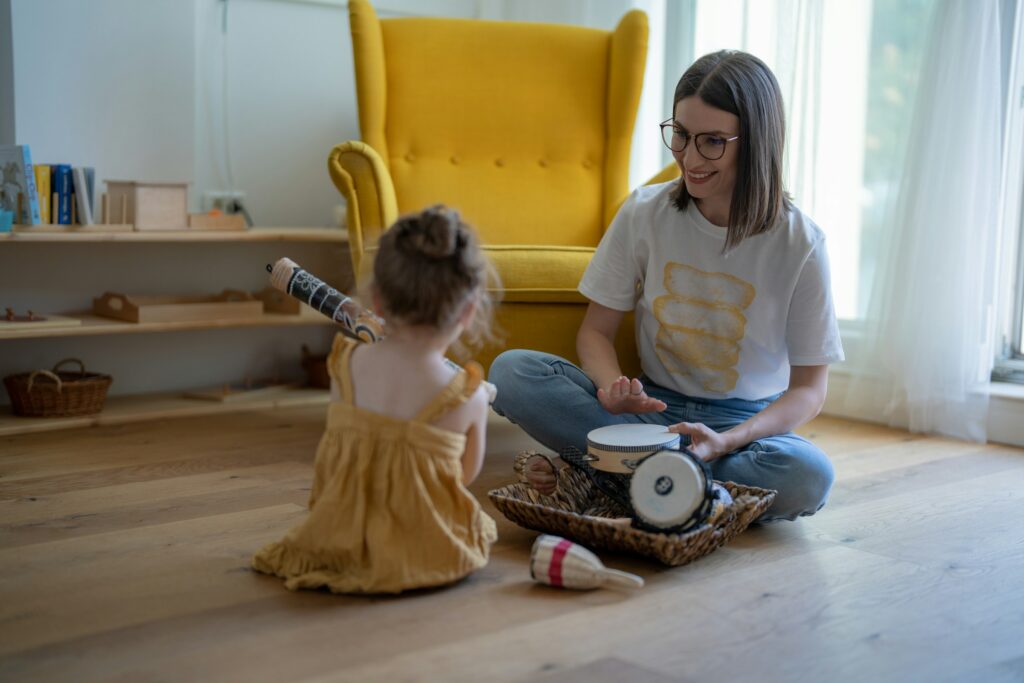
This will be so much fun! Involving your kid in the process helps them hone their decision making & problem solving skills, take better care of the room they helped design, and figure out what they like and dislike. And of course, making it a parent-kid project solidifies your relationship.
Now it’s time for you and your kid to create the bedroom of their dreams!
I’d love to hear from you
These are my 7 tips you can use to design a beautiful kid’s room. Which one will you try first? Or maybe I didn’t mention one of your favorite tips. Either way, let me know by leaving a comment below right now.
And most importantly, enjoy the design process together. ♥️

